

Introduction: How to Replace a Chainsaw Chain


Even though the steps for a chain replacement are simple and can take less than five minutes, it's important to point out a few repair details that can make all the difference between a chain that's installed correctly and an incorrectly installed chain.
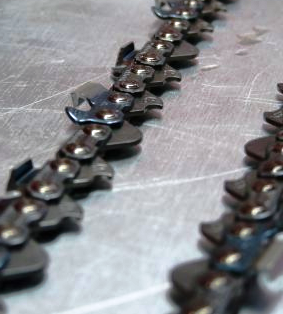
Of course, the first step toward a proper chainsaw chain replacement is getting a matching replacement chain for your chainsaw.
To learn how to match chainsaw chains for compatibility, please read our article: Chainsaw Chain Measurements, Sizes, and Types. Continue below for chainsaw chain replacement steps.
Steps to Replace a Chainsaw Chain
Other chainsaw designs may be a little different than that of the chainsaw we use here as an example, but chainsaw designs are similar enough for the steps in this article to help most chainsaw owners regardless of the model they own.
The only tool needed for this repair is the scwrench that most likely came with your chainsaw. Otherwise, a flat head screwdriver and a socket wrench will do just fine.
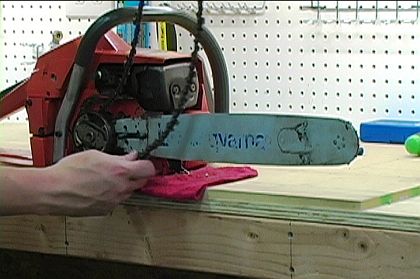
Step 1: Remove the Old Chainsaw Chain

The side plate on most chainsaws will most likely be held on by two nuts.
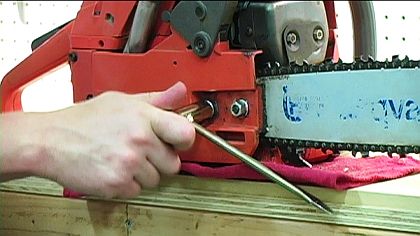
Using a scwrench or wrench, unscrew the nuts and remove the plate to access the chain.
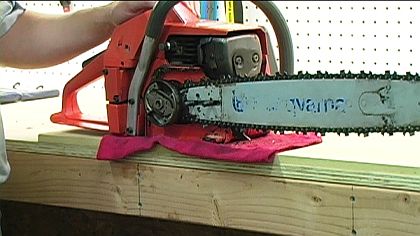
A chainsaw's brake is sometimes attached to the guide bar side plate, like the chainsaw in our example.
If your chainsaw's brake is attached to its side plate, make sure to unlock the brake before removing sprocket the plate. Removing the side plate with the brake in the locked position can make it difficult or impossible to reinstall.
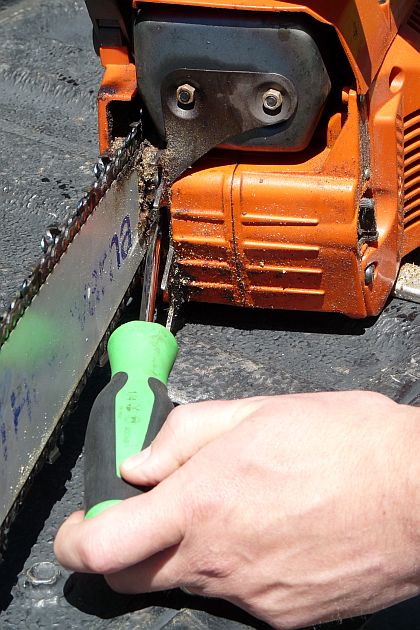
Step 2: Release the Chain Tension

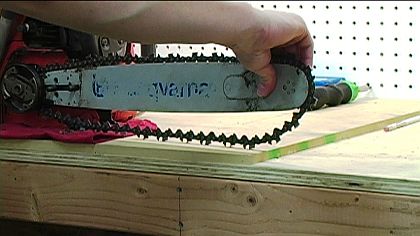
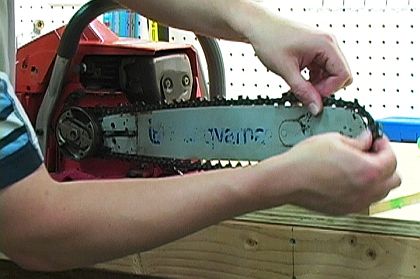
Step 3: Remove the Old Chainsaw Chain

Pull the drive links out of the guide bar and slip the other end of the chain around the clutch drum.
Step 4: Loosen the Tensioning Screw


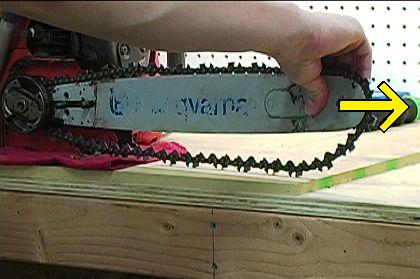
Step 5: Thread the New Chain Onto the Saw

Thread the rest of the drive links into the guide bar and around its nose.
Step 6: Align the Guide Bar

While pulling the guide bar, make sure to seat it onto the saw's adjustment pin.

Step 7: Replace the Side Plate

The side plate is ready to go back on as long as the guide bar is properly positioned beneath.
Replace the plate and the nuts that hold it into position, but do not tighten the nuts down all the way yet. The guide bar must be allowed to move a little while the chain is tightened to the correct tension.
Step 8: Tighten the Chain to the Correct Tension

To read about correct chainsaw chain tension, see our article: How to Tighten a Chainsaw Chain.
Step 9: Finish Tightening the Side Plate Nuts

Conclusion
Has your chainsaw chain seen its last sharpening? Visit our Chainsaw Chains page to find a matching replacement chain for your saw.
eReplacementParts.com is here to provide the quality tool parts ordering and shipping services that tool owners need, and the information tools to help them get the most out of their powered products.
To get started with another chainsaw repair, visit our Chainsaw Parts page or type your saw's model number in the search field at the top of the page.


