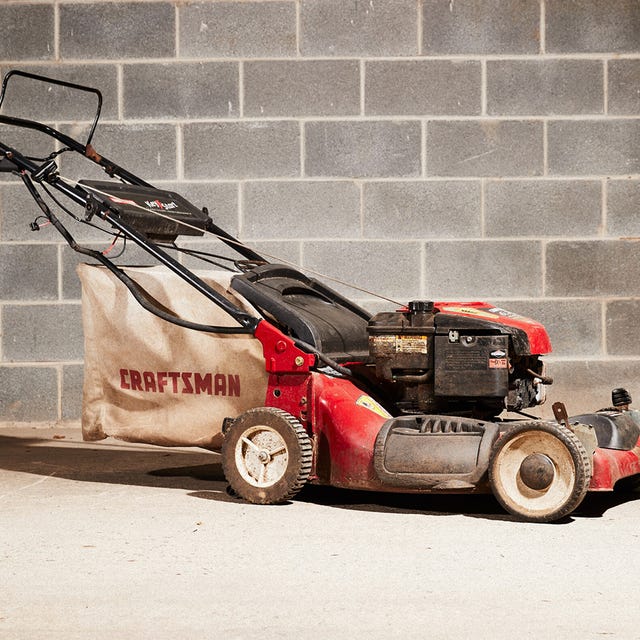
I’ve restored dozens of gas engine lawn mowers, and it’s been my experience that people put them out in the trash while the machines have plenty of life left in them. The average mower sitting unobtrusively at the curb usually needs nothing more than a thorough cleaning, an oil change, and some minor repairs. Really, in many cases, that’s all it takes to convert a mower from a heap of dried sod to a solid grass cutter.
You don’t need to be a small engine mechanic with a shop full of tools. You need nothing more than a few screwdrivers, a socket set, a putty knife, and some miscellaneous hand tools. Most mowers are fairly simple machines. Even a self-propelled lawn mower is not difficult to repair.
To demonstrate how simple this process is, and how little these mowers really need, we teamed up and plucked two disgusting and badly-neglected mowers from somebody giving them away for free. For both machines, our work was well short of a complete overhaul. Our cost for parts amounted to about $30 per mower. Here, we’ll show you how to transform one of these mowers from junk to gem.
Why Restore a Mower?
There are lots of good reasons to restore a gas engine mower. Even if you’ve bought a battery-powered mower, you may find that cutting conditions sometimes require the power you get out of a gas engine machine, so it makes sense to invest a little time and effort in your gas engine mower as a backup.
There are plenty of reasons you might want to fix up an old gas engine mower:
- Someone donates a tired grass cutter to your volunteer organization because you need it to handle rough-and-tumble cutting on the shoulder of a trail, around gardens, at a park, or even to mow some tough areas at a cemetery.
- Maybe your kid wants to start a lawn mowing business and you want to teach him or her the value of putting in a little sweat equity to stand an old mower on its feet, then put it to work turning a profit.
- Perhaps you just want to keep your faithful grass cutter running longer. That’s reason enough.
- Also, restoring the mower makes sense if you have someone to give you a hand–mowing your yard goes a lot faster with two mowers than it does with one.
- You don’t want to make the switch to a battery mower but aren’t thrilled with the lower build quality of some of the new gas mowers you’ve seen at your local home center.
- You don’t want to send a lawnmower to the landfill if it still has life in it.
Overview of the Restoration
The most common areas of neglect on a mower include a dulled or damaged blade, a grass-clogged deck, a filthy air filter, worn drive wheels, and a dirty grass bag. Believe it or not, most of the time, the spark plug is still good—replacing it will cost you about $6 at a home center.
For a good little tutorial on cleaning and gapping a spark plug, have a look at this video by engine manufacturer Briggs and Stratton.
The most complex thing that you might encounter is a carburetor that’s been damaged by ethanol gasoline or clogged by the residue that forms when the fuel deteriorates. We treat this topic in a separate section below.
Test Run the Mower
Check the mower’s dip stick to be sure that there’s sufficient oil in the crankcase. Then tip the mower up and look at the blade to check whether it’s bent or severely damaged, such that it would have damaged the engine’s crankshaft. Damage that severe is rare, but when it happens, usually the mower is a candidate for the scrap heap.
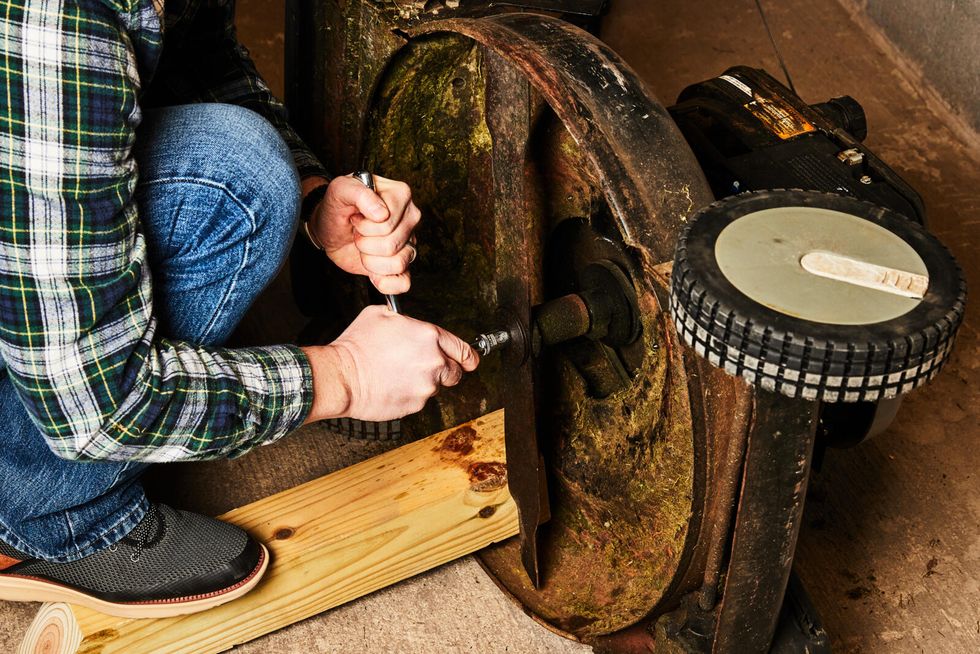
On the other hand, I’ve seen blades that were pretty badly chipped from multiple strikes on rocks and roots, and the engine was fine. While you’re checking underneath, it’s a good idea to fit a ratchet and socket to the blade bolt to make sure it’s tight.
Assuming there’s sufficient oil reading on the dip stick, there’s no sign of severe damage underneath, and there is gas in the tank, pull start the mower. If it doesn’t start, there could be several causes, but the most common causes are old or watery fuel, residue from degraded fuel clogging the carburetor, and a dirty spark plug.
If you run a fuel check (see steps below) and the mower still doesn’t start or it runs erratically, a simple spark ignition tester will help you see whether there’s an ignition problem. The tool has a small window through which you can view the spark produced by the engine. No spark or an erratic spark indicates an ignition problem. Spark problems are rare, in my experience, but we mention it here out of a sense of completeness.
Assuming that the mower starts and runs, even if poorly, move through the restoration process.
Scrape the Deck
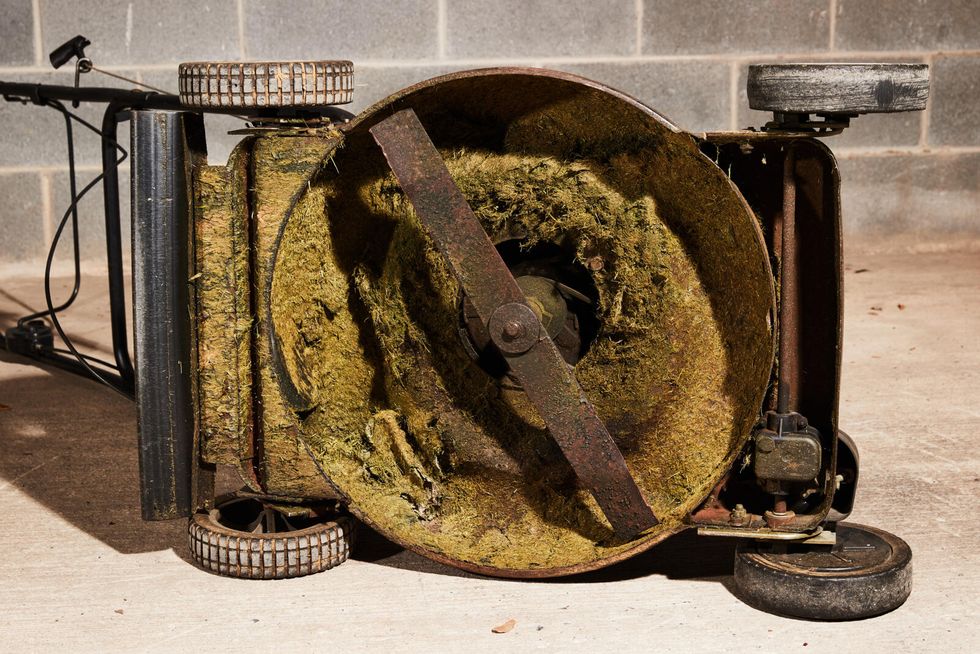
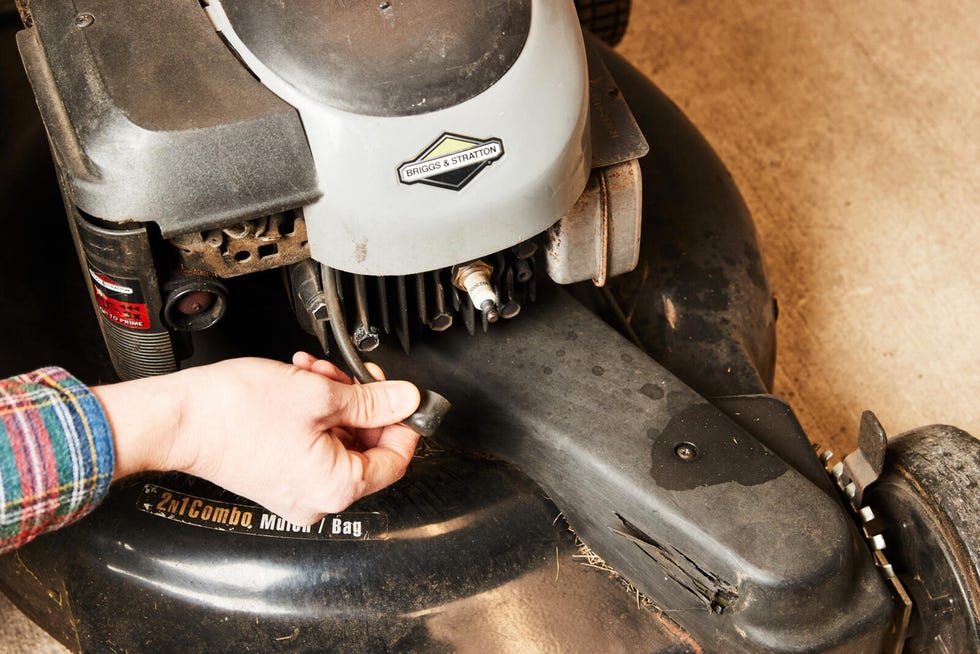
The average donor mower has a deck that’s downright packed with grass clippings. Begin the restoration by removing the spark plug boot from the tip of the plug. This safety measure will ensure the mower won’t start while you work on the machine.
Next, scrape the deck clean with a putty knife. If you find rust flaking off the deck, scrape this, too. If the mower is going to be used often, then regularly cleaning the deck will slow the formation of rust. You can hit the underside of the deck with some spray paint if you want, but it's not necessary if you keep the deck clean.
Replace Bad Wheels
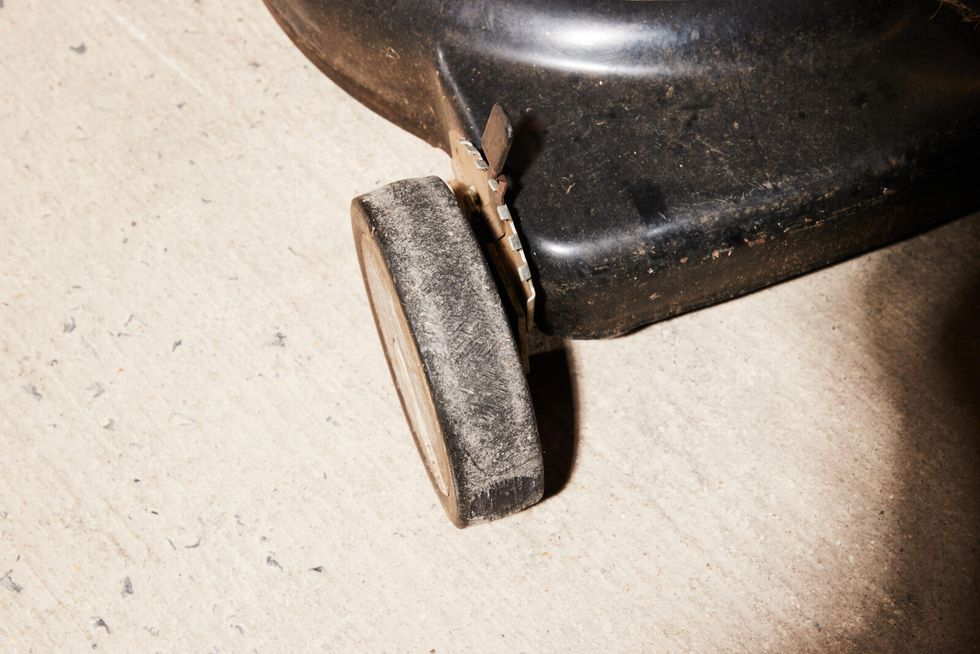
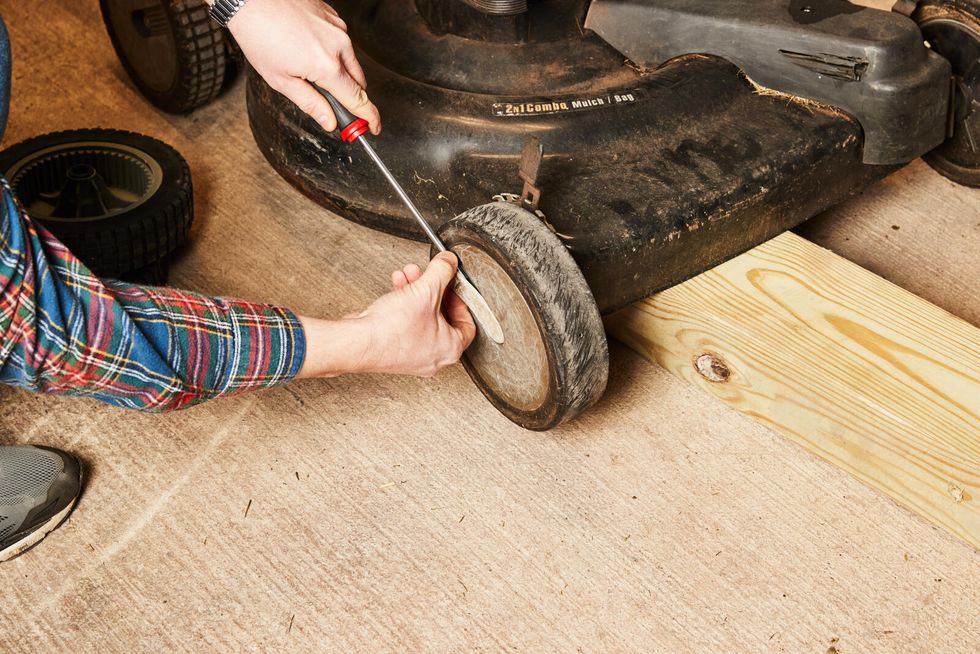
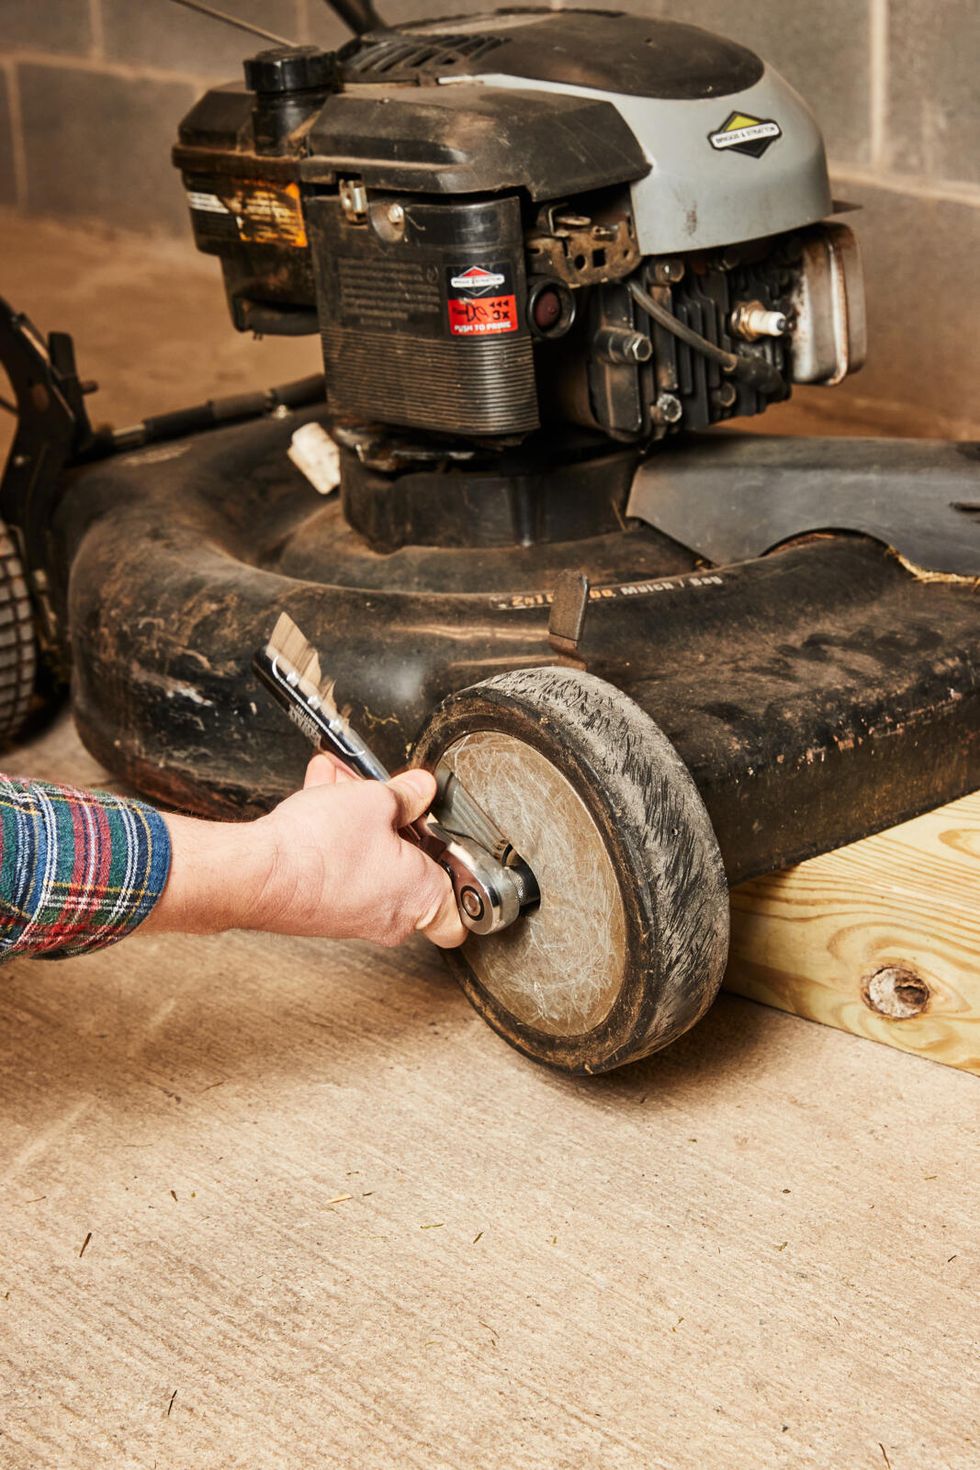
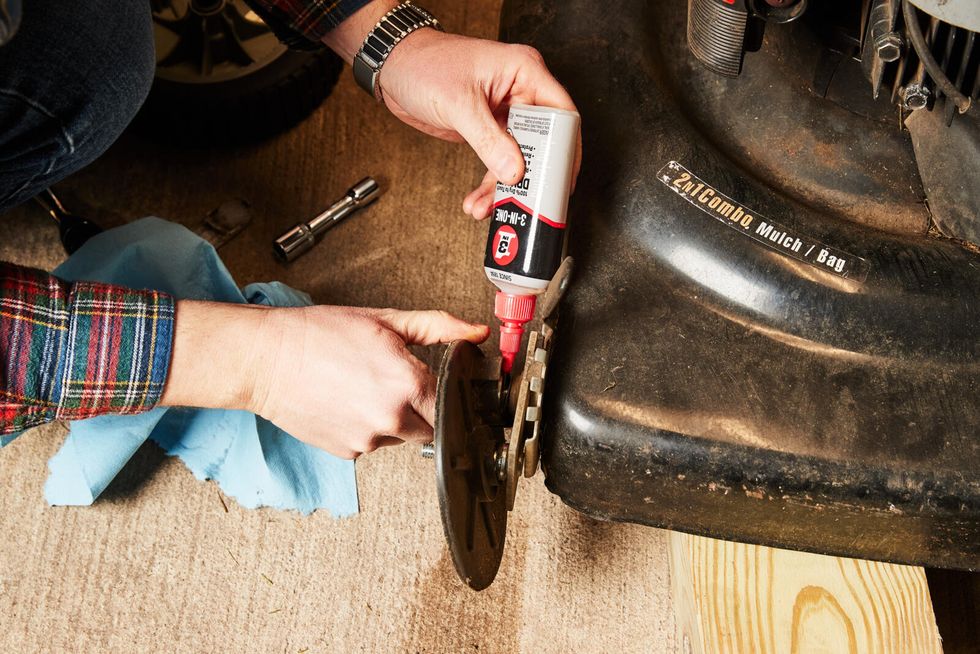
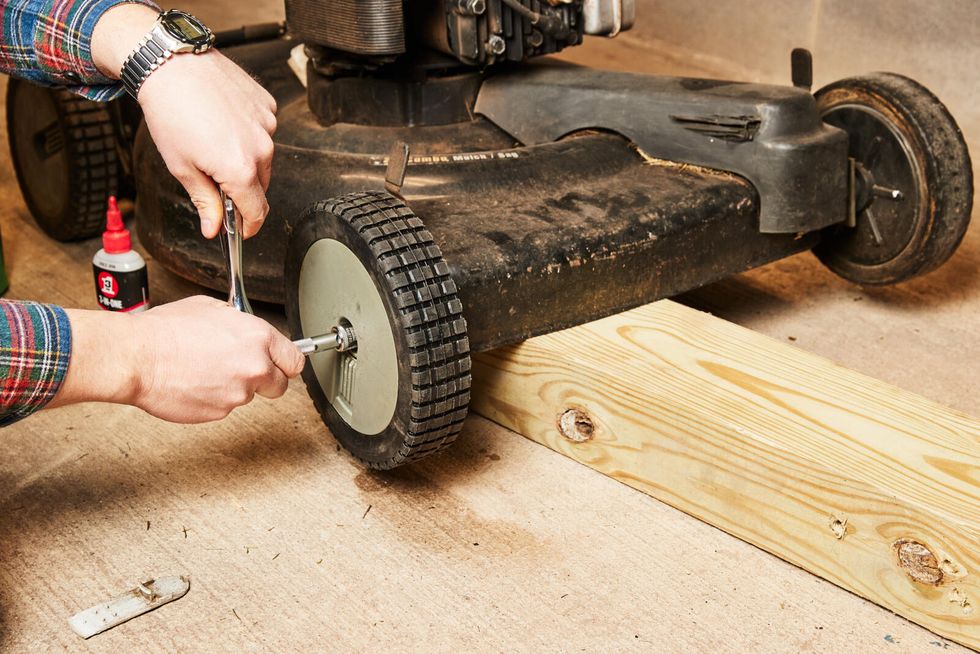
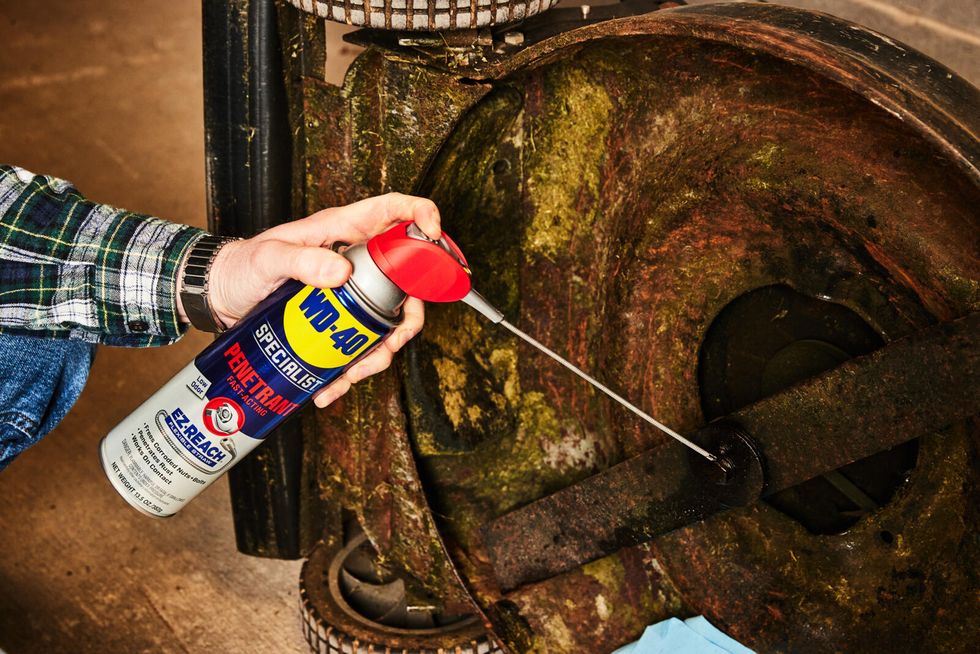
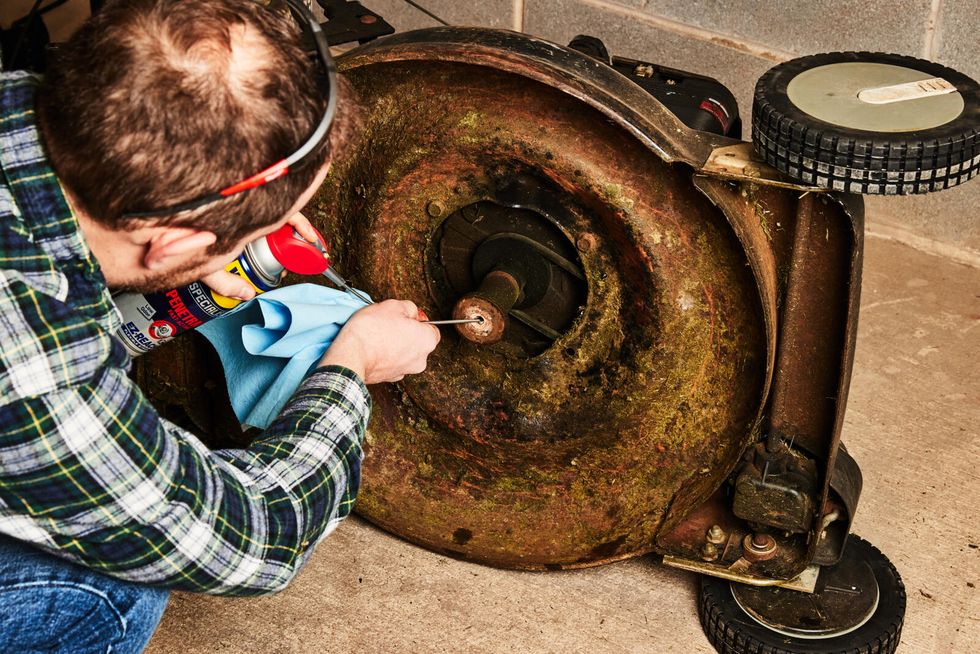
One of the most common deficiencies on an old mower is that the treads have worn off the wheels or the gears inside the drive wheel have worn down. Replacing a wheel requires nothing more than unbolting the wheel and replacing it.
In most cases with self-propelled mowers, it’s only the drive wheels that need replacement. The procedure is the same for both. Front-wheel drive mowers tend to suffer from worn wheels more than rear-wheel drive units.
With the necessary cleaning and lubrication out of the way, you’re ready to bolt up the new wheel. Align the drive splines inside the wheel with the drive cog and press the wheel into place.
Replace the Air Filter
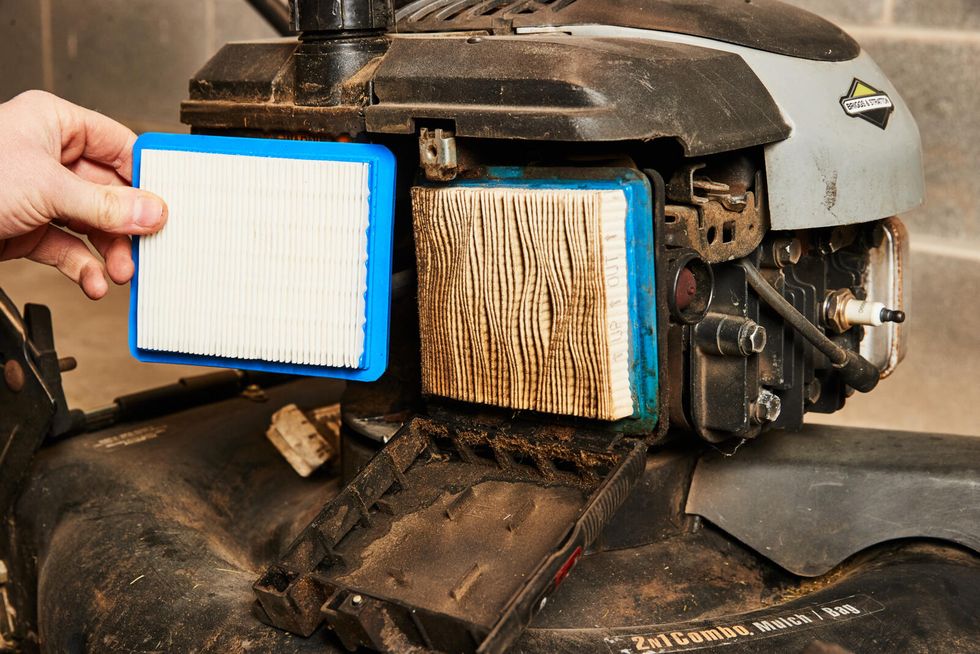
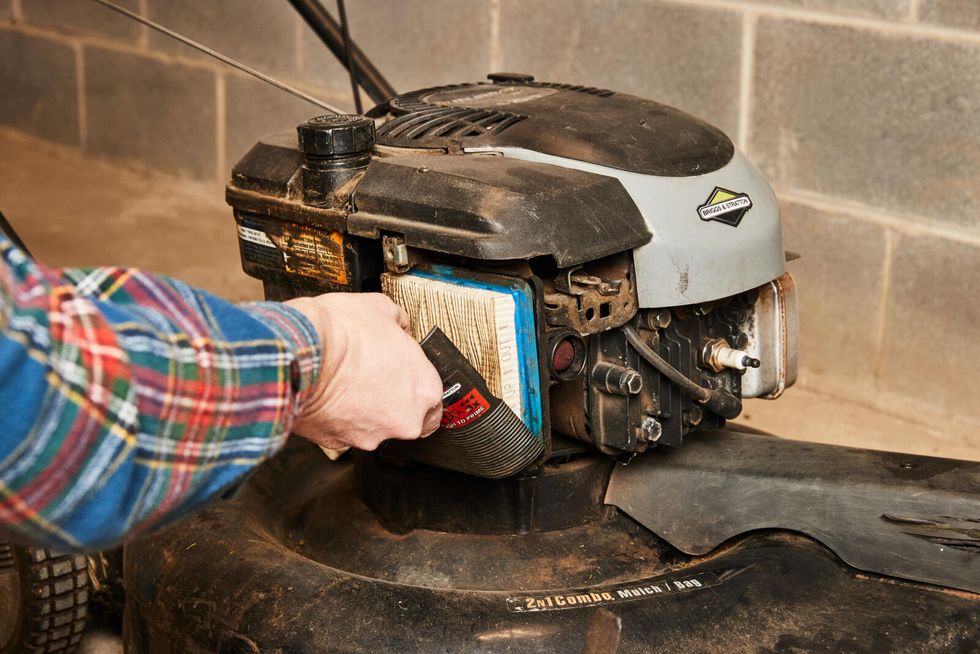
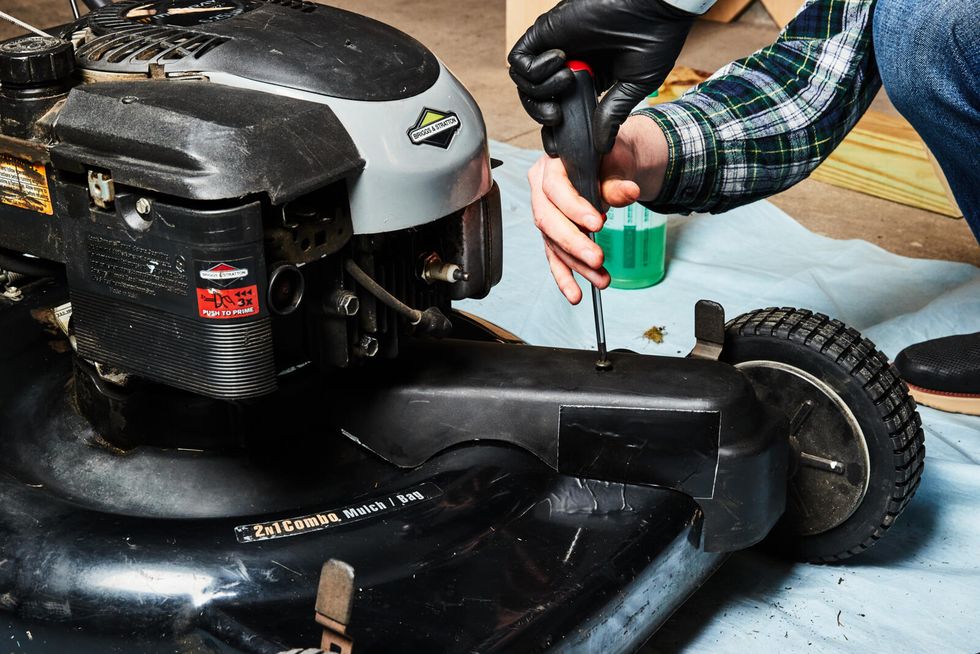
A dirty air filter degrades engine performance by blocking air flow. This disrupts the air-fuel ratio that’s necessary for peak power and easy starting. Fortunately, it’s also one of the easiest problems to fix. At most, the only tool you’re likely to need is a screwdriver to take the air filter cover off. Remove the cover, peel the old air filter out, and replace it with a new air filter.
If your air filter cover is cracked or smashed and needs to be replaced, it’s easy to do. Just search online using your mower’s model number, which should be printed somewhere on the deck. This should yield results of parts that are compatible with your mower. An air filter cover should cost somewhere between $9 and $15, depending on size and model. Some even come with the air filter.
Many air filter covers have tool-free access, a few will require a screwdriver.
Once the cover is off, remove the air filter and replace it with a fresh one.
Sharpen the Blade
A neglected mower will have a neglected blade. And by neglected, I mean one that’s rusty and dull. Blade maintenance is a multi-step process that we outline in the steps below.
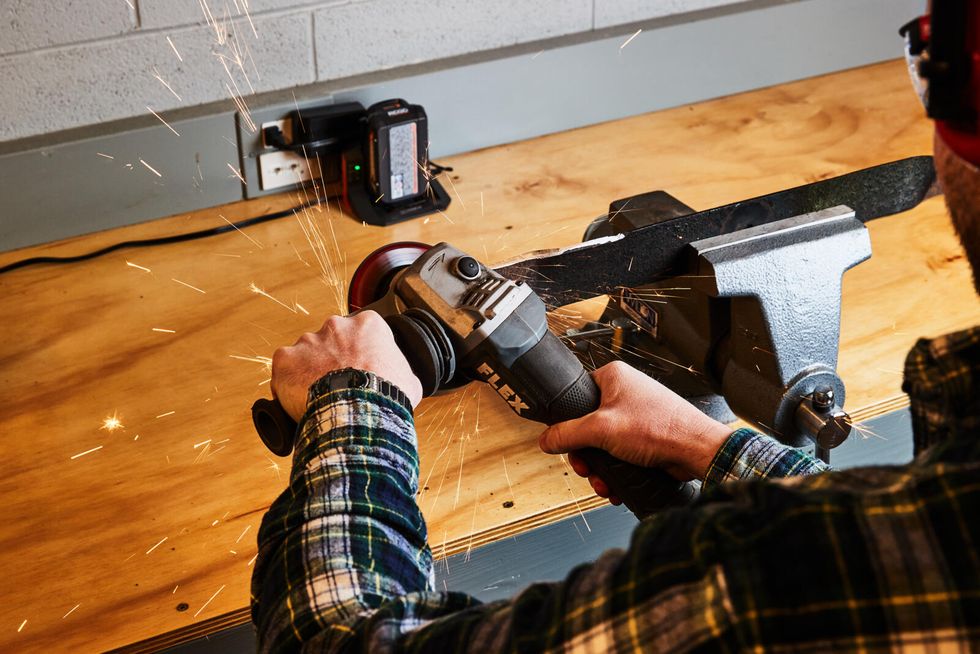
Sharpen a blade that’s dull (not damaged), using a file. If the blade shows minor damage from hitting small rocks and roots, you can use an angle grinder with a 60-grit flap disk to sharpen it.
Once you’ve sharpened your blade, you’ll need to make sure it is balanced, otherwise the mower may not run smoothly. There are several different ways to check a blade for balance. You can clamp a bolt in a vise, and hang the blade on that. You can drive a nail into a stud, and hang the blade on that. You can use a blade balance cone on a work bench and check for balance horizontally. Just make sure your bench is level before using one of these cones.
There are a couple of other things to do after the blade is sharp and balanced.
General Cleaning and Minor Repairs
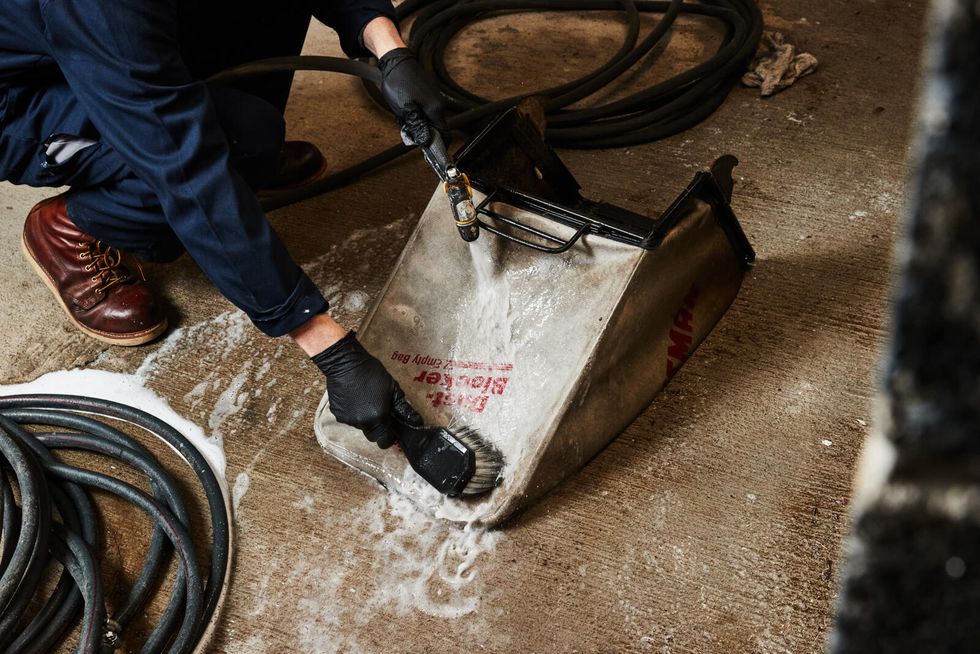
And while you’re at it, a filthy grass bag isn’t just gross, if its air vents are blocked, the mower won’t bag effectively. Blow out the bag with a leaf blower then wash it down.
Other minor repairs
• One of our mowers had its drive belt cover worn through. We patched this area with aluminum foil duct tape that we painted black to match the rest of the housing.
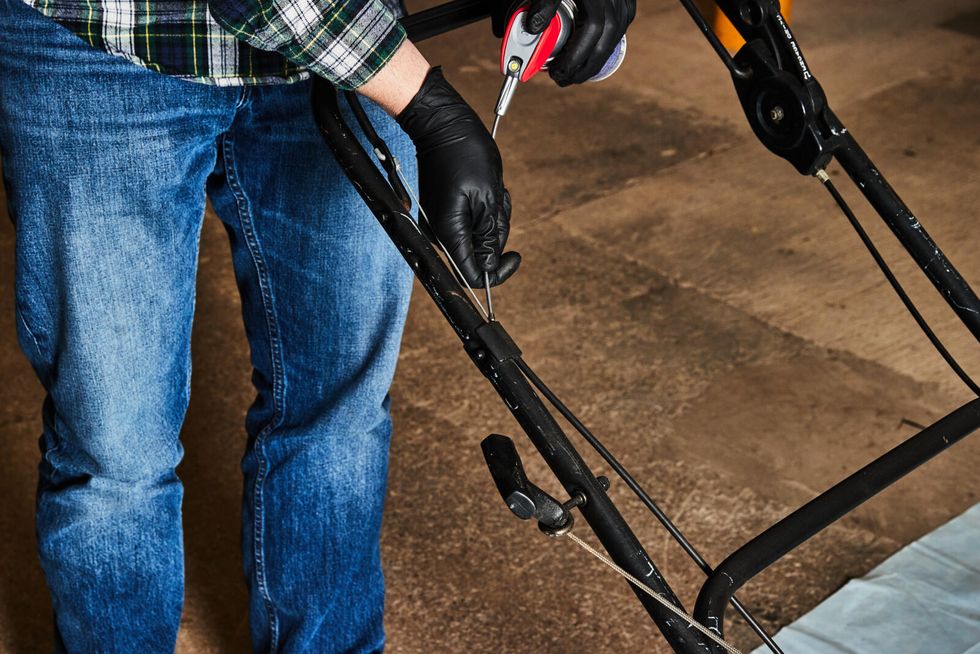
• Use some WD-40 to lubricate cables.
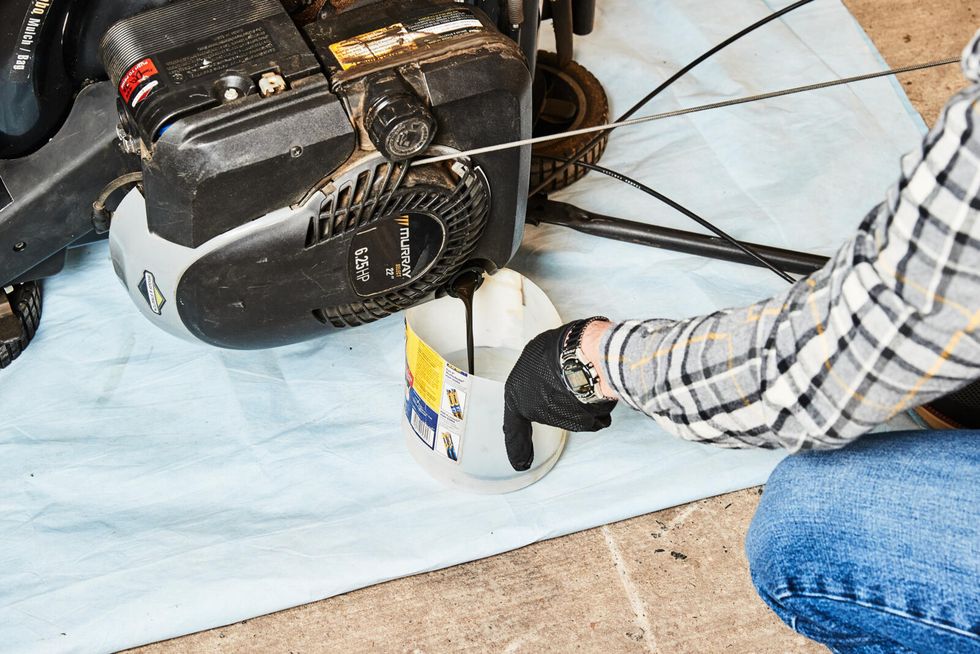
• Change the oil.
Check and Clean the Plug
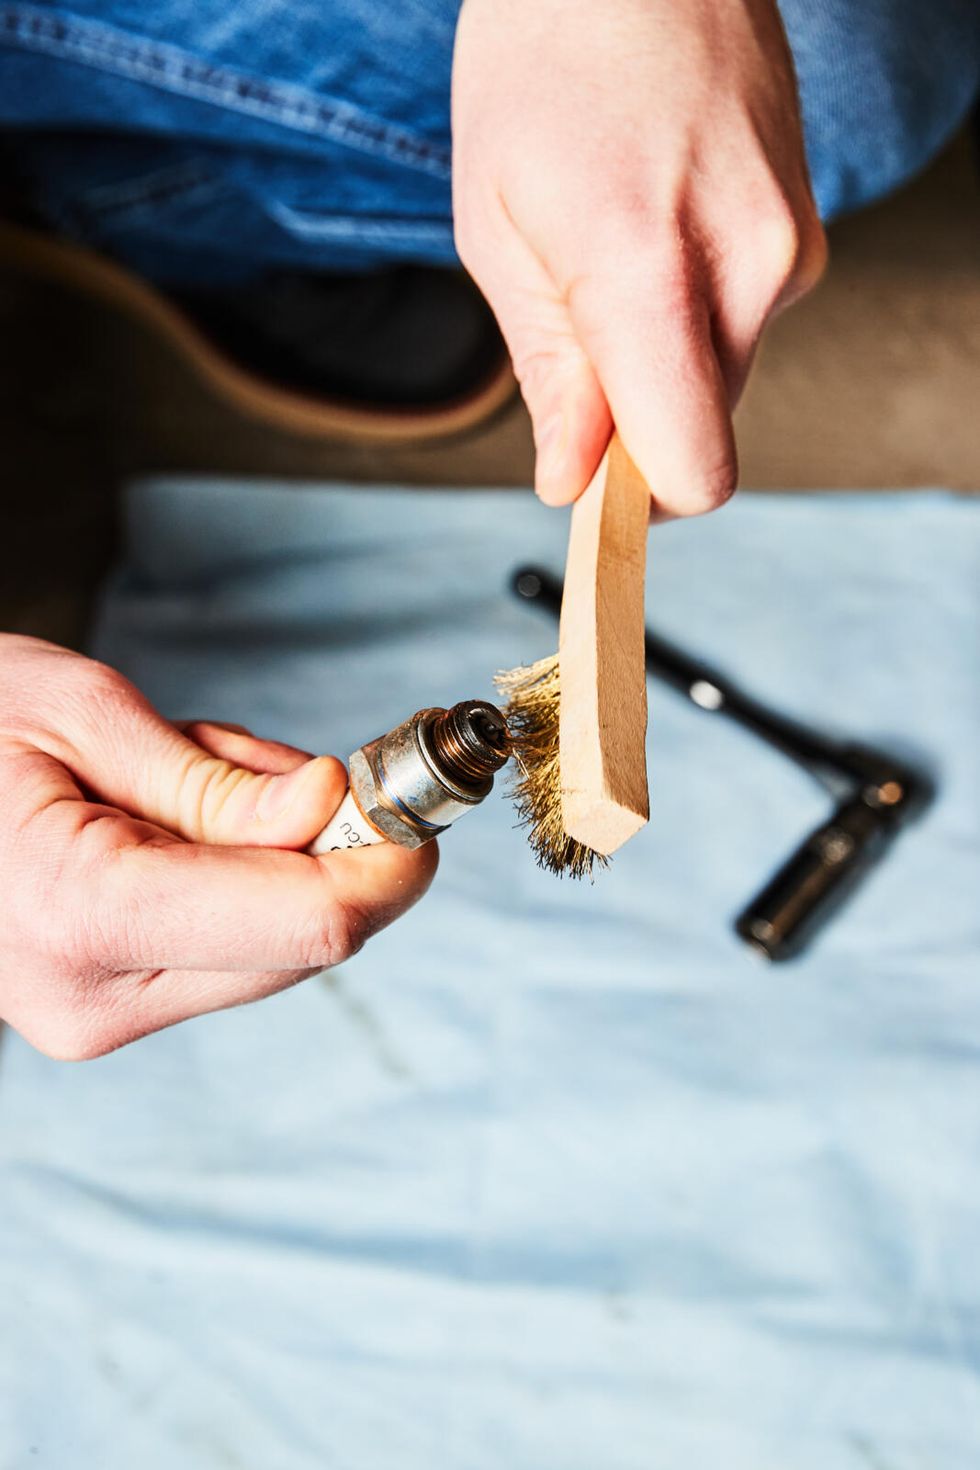
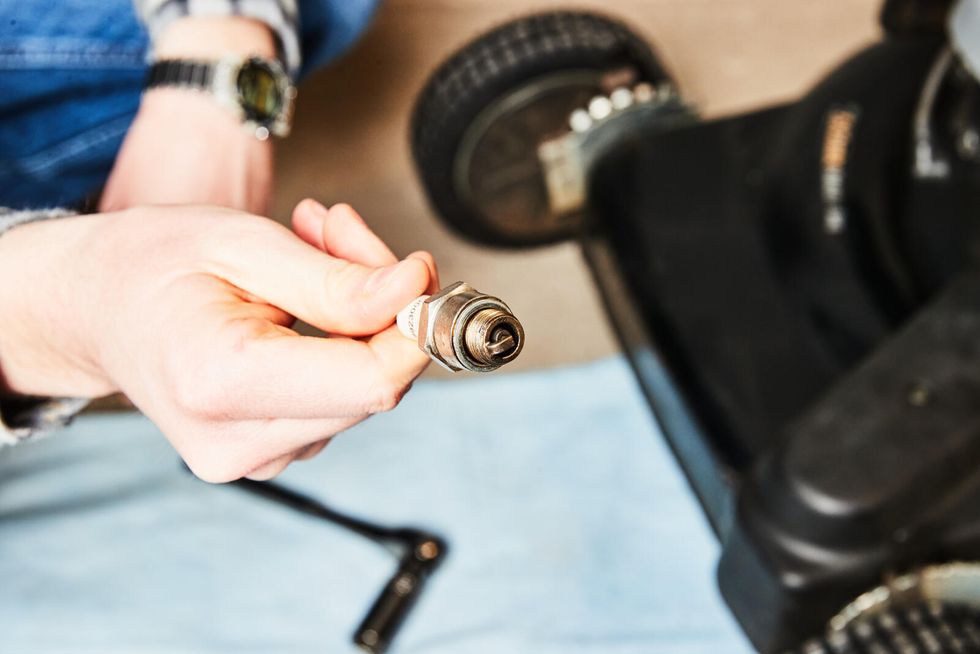
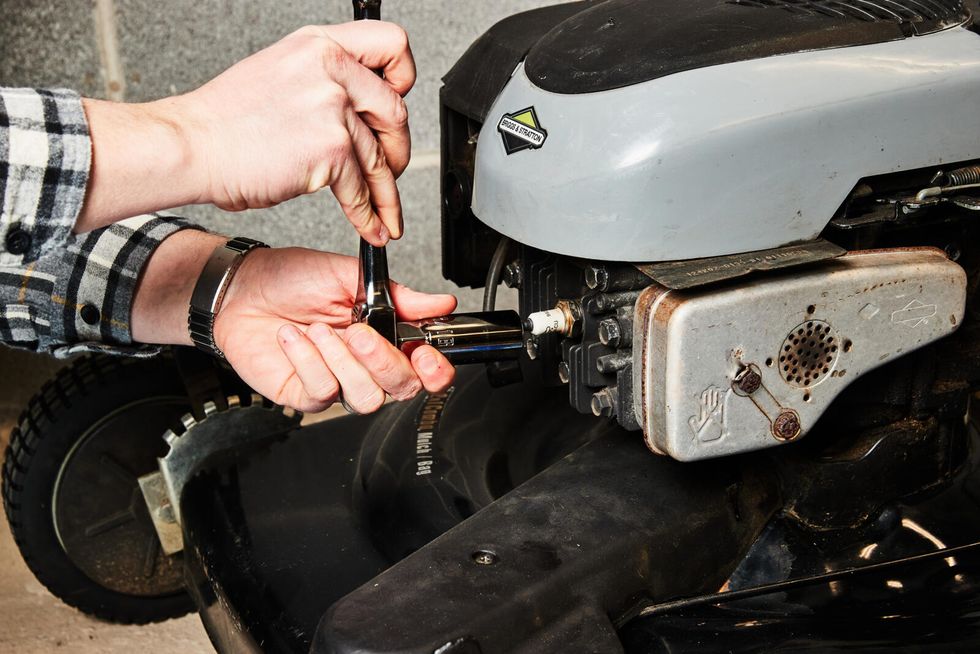
While you certainly can replace the spark plug, I’ve found that it isn’t necessary if the engine otherwise runs fine. To keep the spark plug firing optimally, you can simply scub any deposits off with a small brass wire brush. If you have one, you can also check the gap of the spark plug using a gap tool.
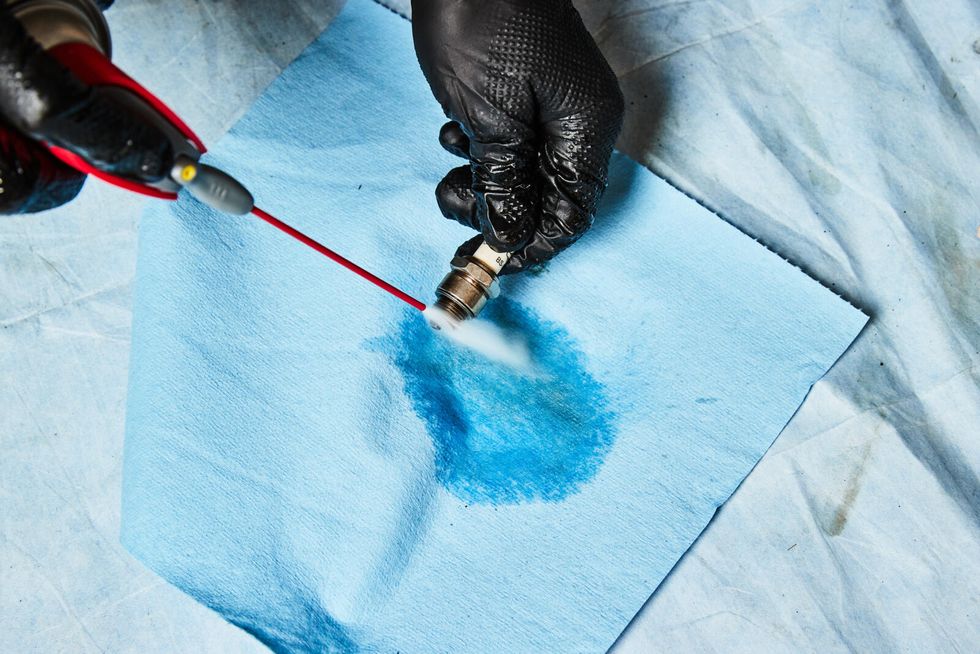
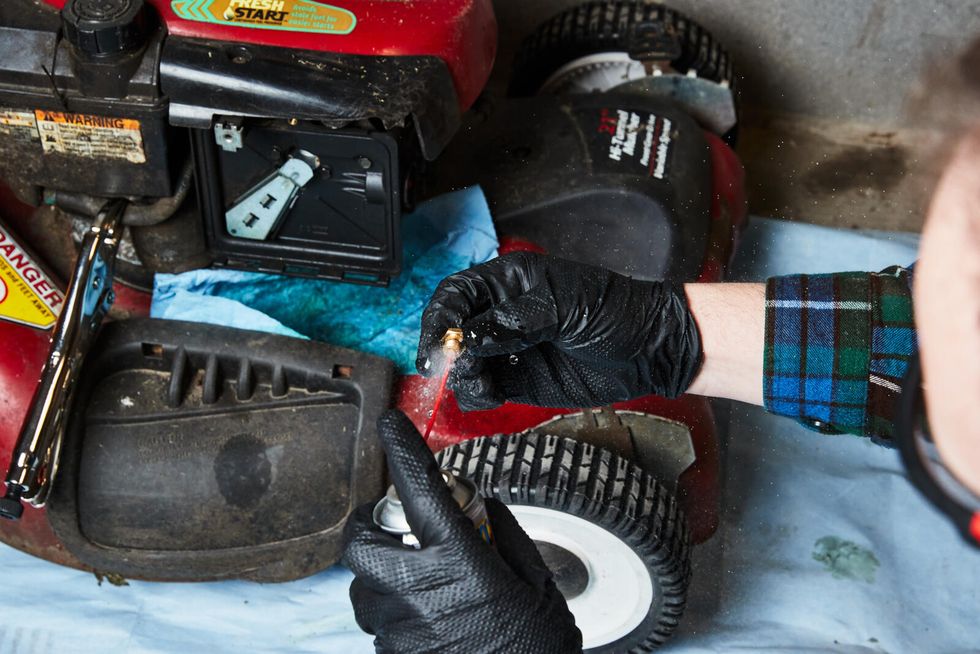
Step two of refurbishing the plug is to spray it clean.
A refurbished plug should look almost as good as one right out of the box.
If you’ve never installed a spark plug before, have a look at this tutorial at the Champion spark plug website. It explains tightening both gasket-base and taper-base plugs.
Test Run the Machine in Grass
An hour or two of work should yield a machine that starts easily, runs well, looks good, and cuts grass practically like a new mower. The two most important telltales that you want to look for are a smooth pull start, and lack of vibration when the mower comes up to speed (indicating a mechanically sound engine turning a balanced blade).
Adjust all four wheels so the mower is level, then walk the machine into some grass. A full operational test would include bagging and mulching. Of course, if the mower still has its side discharge chute, walk slowly into into some tall grass; with a properly-sharpened blade and the deck height adjusted for tall grass, you should find the mower produces a steady stream of clippings out of the side chute. We use the same test when evaluating new mowers at Popular Mechanics.
If the mower isn’t performing in some respect, you need to investigate. A bogging engine may indicate a fuel-supply problem or lack of spark under load. Vibration may indicate that the blade isn’t as balanced as you thought. If the machine isn’t bagging, have you pulled the mulch plug out of the back of the deck or forgotten about the hinged mulching door at the back of the mower?
Don’t laugh. I’ve seen more than one mower owner complain about performance while overlooking the obvious.
But as we say above, in most cases, a dirty old mower that has seen some basic mechanical attention will perform surprisingly well.
Carburetor Problems
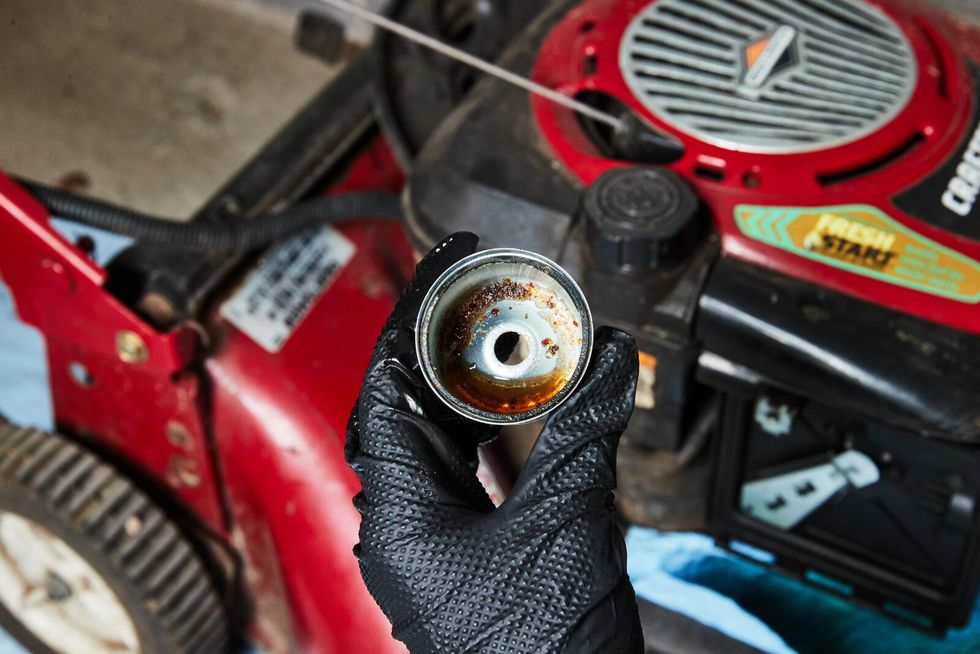
At this point in the story, we’ll switch mowers in order to show you what a fouled carburetor float bowl looks like. The Murray mower shown elsewhere ran perfectly well, indicating there were no carburetor issues. Not so with the Craftsman mower that was the focus of another round of repair efforts.
Some background is helpful. Today’s standard gasoline contains ethanol, a form of alcohol that’s added to gasoline to reduce air pollution (that’s the theory, anyway). But the alcohol-rich fuel degrades rapidly and leaves behind slimy deposits in the gas tank, in the carburetor bowl, and in fuel lines. If your mower sits for a few weeks or longer without running, the ethanol in the gasoline may begin to degrade and cause engine issues.
If your mower won’t start after winter, you may very well have an easy-to-fix fuel supply issue. To test this out, remove the air filter and spray some carburetor cleaner into the carburetor opening behind where the filter sits, then try starting the mower. If it runs for a second but then dies, that’s a good indication your carburetor is clogged.
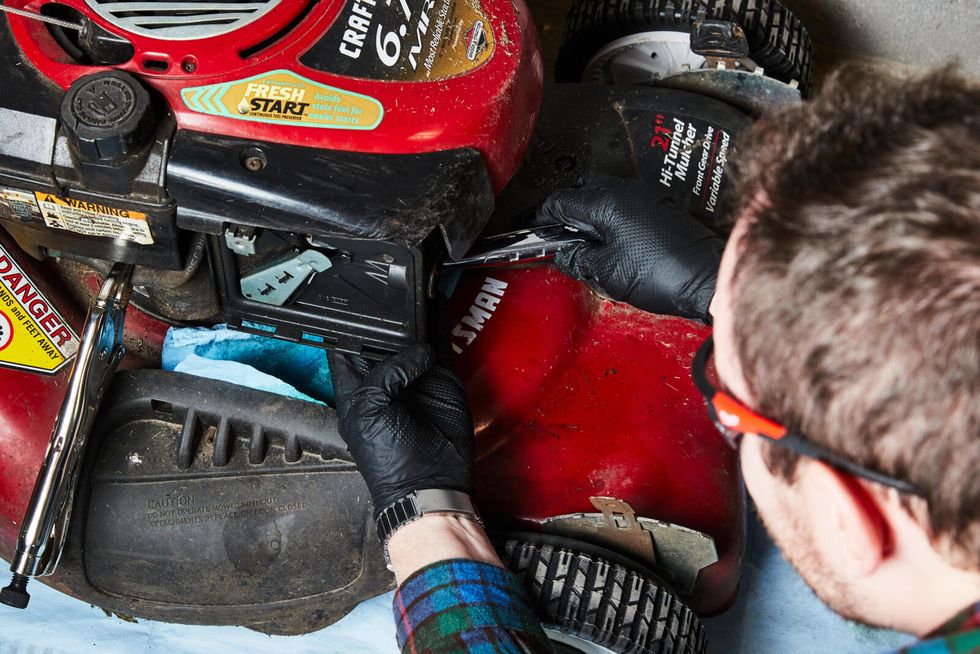
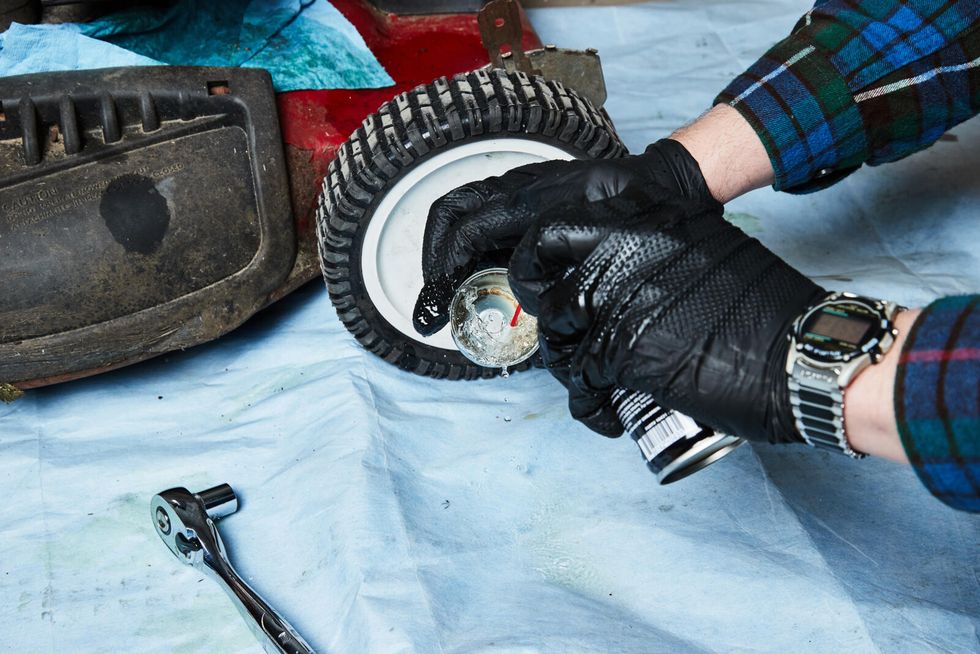
Once the bowl is removed, blast it clean with some spray carburetor cleaner.
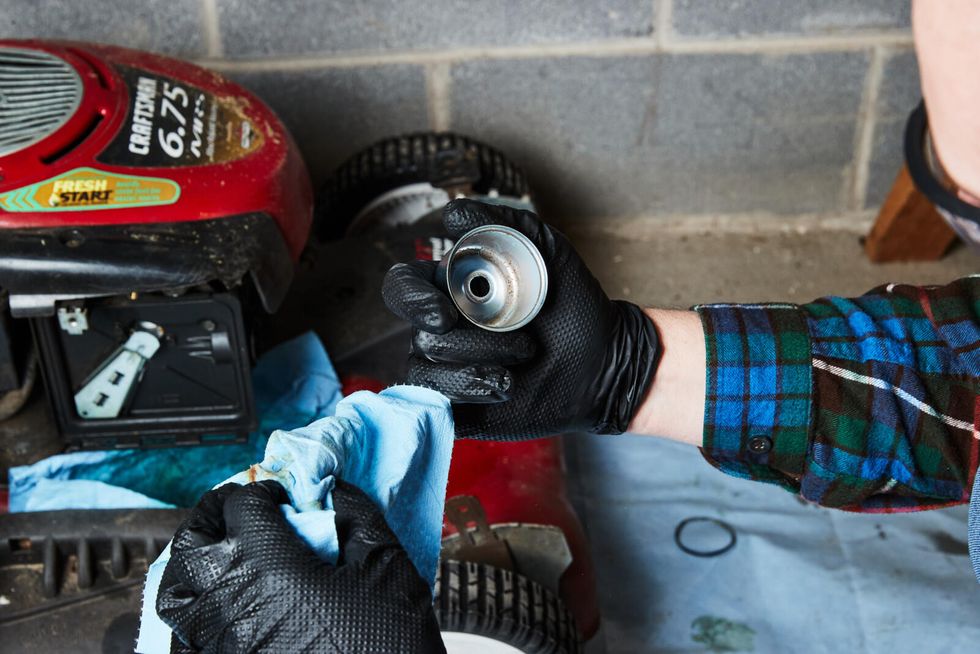
A couple of more cleaning steps, and you’re ready to reattach the bowl to the carburetor then test run the mower.
If this basic cleaning doesn’t work, your best bet is to fully remove the carburetor to clean it or replace it. Have a look at this brief tutorial at the Briggs and Stratton website to give you an idea of what’s involved with these engines. Rebuilding a carburetor is fairly simple, involving disassembly and reassembly with some screws, a few small parts, and gaskets and seals. A rebuild kit will cost anywhere from $8 to $30. If the work seems overly fussy to you, and you don’t want to be bothered with it, replace the carburetor. New carburetors cost anywhere from $20 to $50. In terms of what the old mower is worth, in most cases a rebuild kit is more cost effective, but you’ll have to be the judge of what is effective in terms of your time and trouble.
..
Roy Berendsohn has worked for more than 25 years at Popular Mechanics, where he has written on carpentry, masonry, painting, plumbing, electrical, woodworking, blacksmithing, welding, lawn care, chainsaw use, and outdoor power equipment. When he’s not working on his own house, he volunteers with Sovereign Grace Church doing home repair for families in rural, suburban and urban locations throughout central and southern New Jersey.
